|
|
|
|
REGGIANE RE 2005 Sagittario 1/32nd scale |
|
| Index Foreword
Building Views from above Views from below Comments |
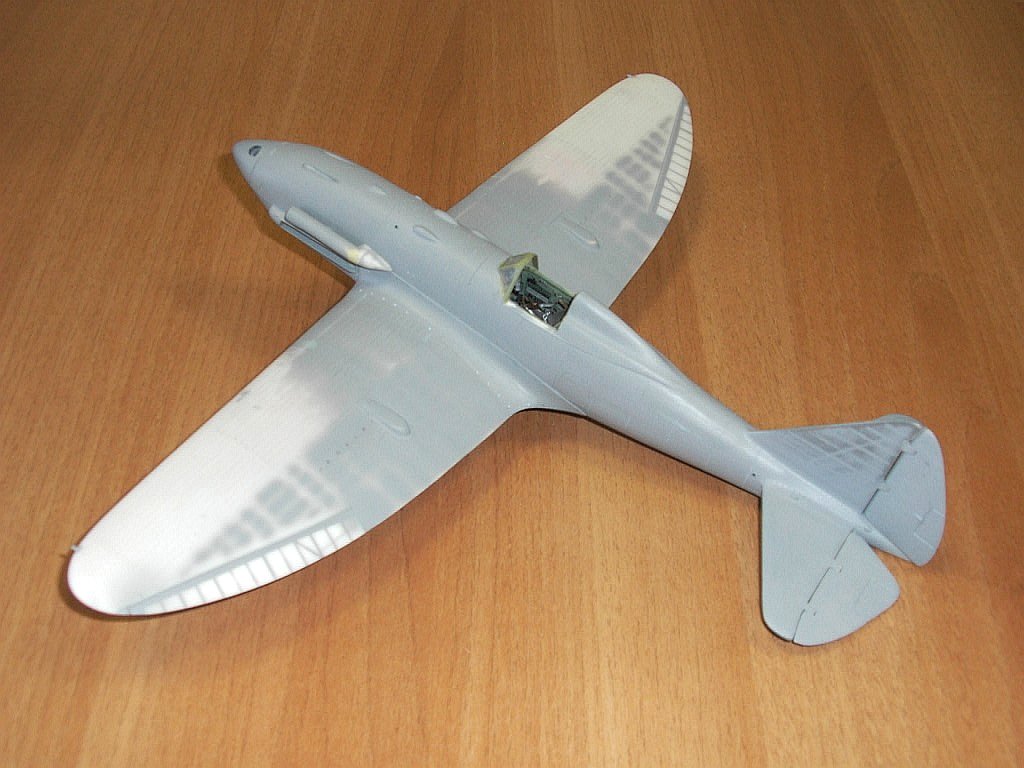
The spinner (a much reduced section of a P-40's spinner) is in place. The small bumps over the fuselage are sections from resin bombs, all panels and rivets are already into place and the gray primer which was used to reveal defects and scratches is Gunze's Mr. Surfacer 1000 airbrushed by my Badger 150. Nice primer!
A view from above:
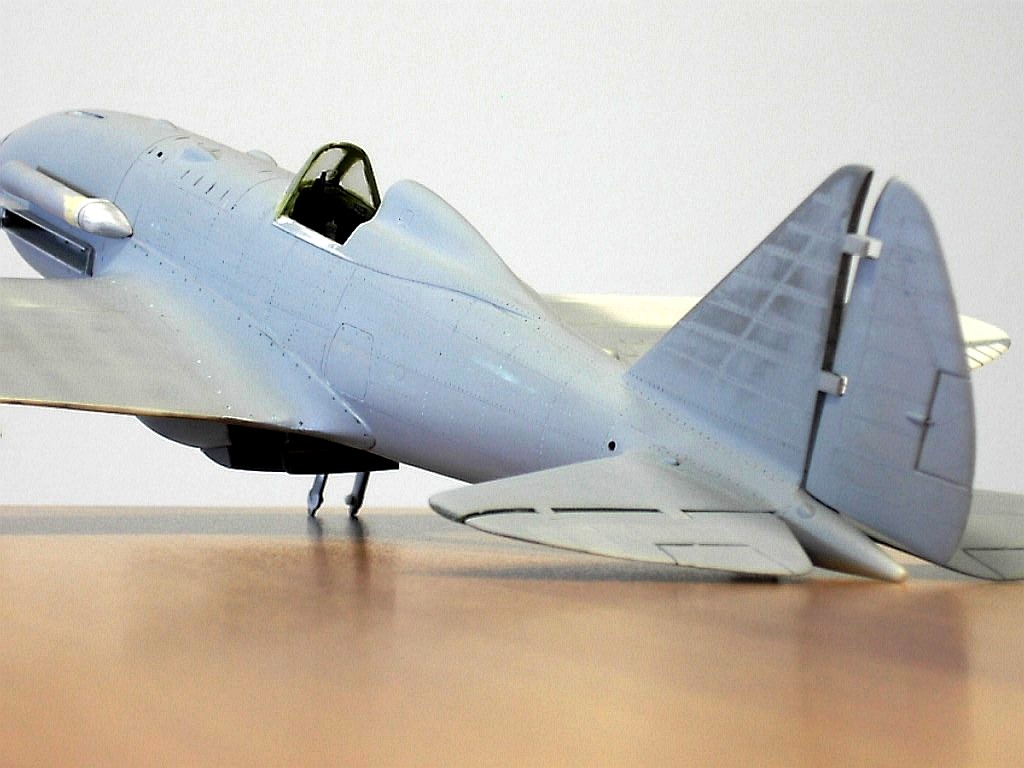
The metal and fabric ailerons and tail sections have been simulated by
the use of Mr.Surfacer.
This pic shows the Karman fillet with its large screws and the panels and rivets details onto the fuselage.
I
hate the debate over scribed or rised panel lines on models. Why don't we
see how each aircraft was? To get the right effect, again I used
Mr. Surfacer. I airbrushed it onto the edge made by tape. The putty blends
over the fuselage over the upper panel and leaves a step towards the lower
panel. No need to send anything and a beautiful scale rendering of the
real thing, expecially on the rear fuselage.
|